Products and Services
Discover all the details about our Products and Services
Education
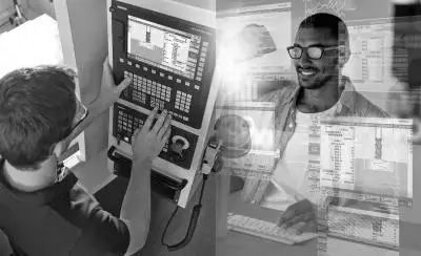
We provide training services for on-board machine programmers and machine tool operators on Siemens Sinumerik and Heidenhain 530/640 CNCs. The training is offered at various levels, from basic training to start using the machine, up to advanced training, where the customer will learn to use all the features of the numerical control, managing variables, special functions, and interfaces.
Customized HMI procedures and interfaces
Through the use of customized procedures and cycles, the customer will be able to control their process 100%, safeguarding the machine, the tools, and the workpiece itself. On Siemens Sinumerik CNC, we are able to provide all kinds of customizations, which can include dimensional checks of the workpiece and tools, tool table values, workpiece origins, and axis/spindle torque and power. Everything the customer deems necessary for their process. All of this can also be managed through graphical interfaces that can simplify its use and make the data more accessible.
The following features are already available for Siemens Sinumerik CNC:
- Torque and power control of axes and spindle and feed adaptation in relation to axis load.
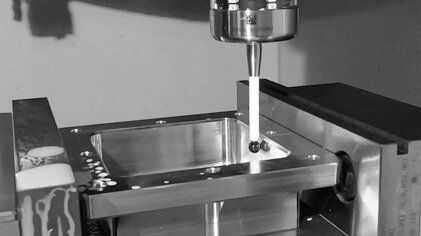
- 3D point measurement cycle using an in-machine workpiece probe, accurate calculation of the measured point, and integrated reporting.
Tooling
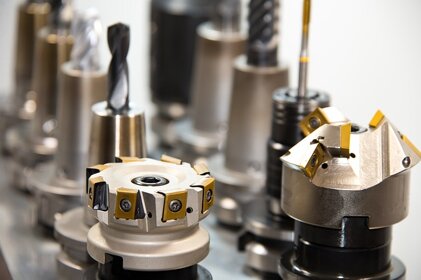
We provide customer support in the study and implementation of workpiece clamping systems and in the selection of the tools necessary for the process. By collaborating with the leading suppliers of tools and clamping systems, we can provide the best solution for every case. Mechanical clamping, vacuum gripping, and other solutions will be evaluated together with the customer to guarantee the required tolerances.
During the process study, the best tools for each application will be selected, with the support of the best suppliers in the sector.
Turnkey services
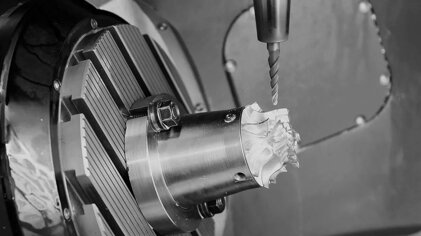
We provide turnkey services for your components, starting from the 3D model of the part and the necessary information for production, to deliver the entire process completed in all its phases. Measurement of the part during the process, tool inspection between the various operations, measurement of features, and final qualification of the part are fundamental steps to ensure a stable and efficient process.
Measurement Cycles
Measuring the part and the tools throughout the process improves their repeatability and accuracy, which are fundamental requirements in the mass production of mechanical components. By using laser equipment and 3D probes, a wide range of checks can be performed on parts and tools, minimizing unexpected events such as breakages or abnormal wear regarding the tools, or non-conformities when it comes to mechanical parts.
Keeping these variables under control becomes essential if you want to achieve a valid and high-performing process.
Through collaboration with partners
Data analysis
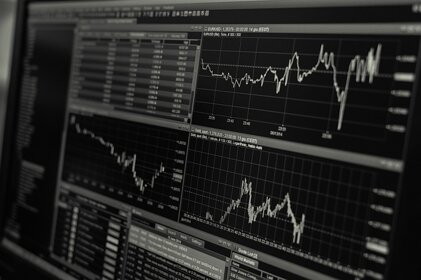
We provide support in the analysis of data related to measurements performed on the machine, with the creation of measurement reports for parts and tools, also through the use of specific graphical interfaces if necessary.
CAD-CAM
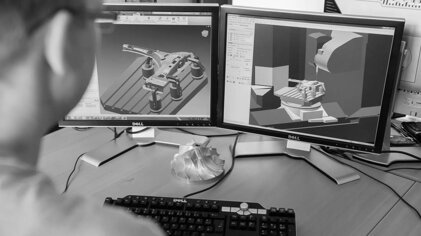
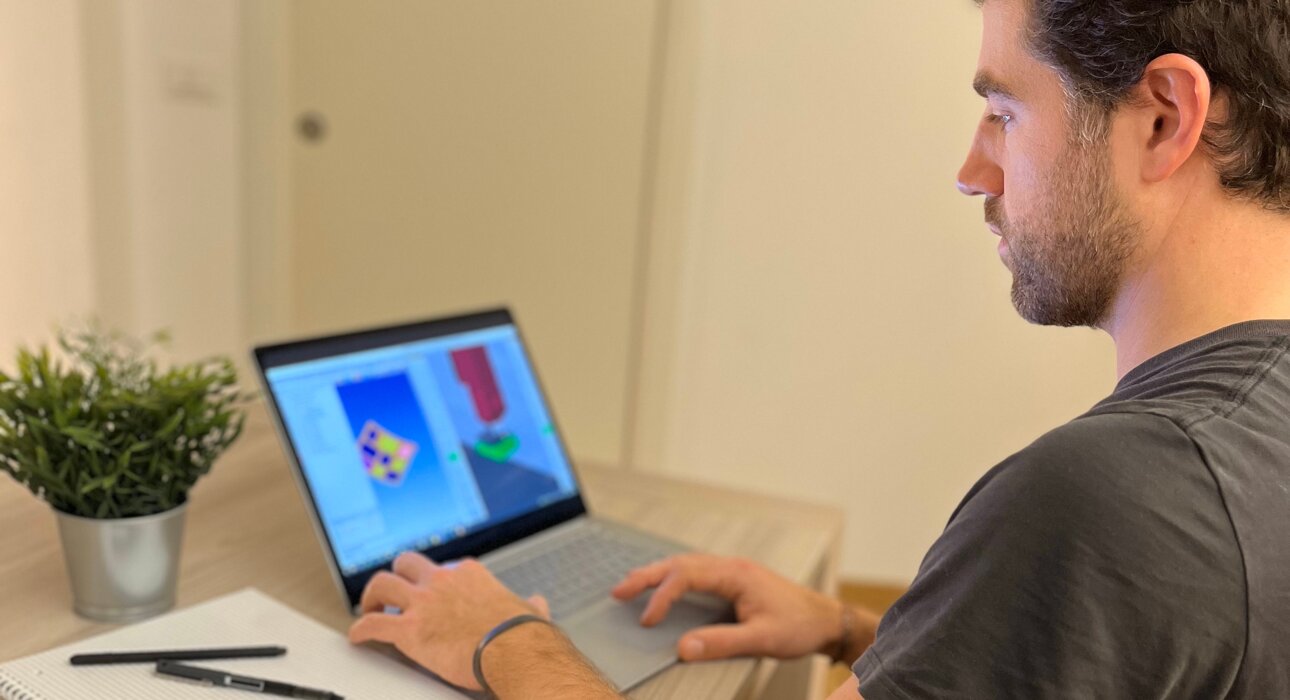
We provide CAD-CAM solutions for every need. Support for toolpath programming and for modeling parts and equipment according to specific requirements. We assist the customer in configuring post-processors, helping them evaluate possible scenarios.
3D printing
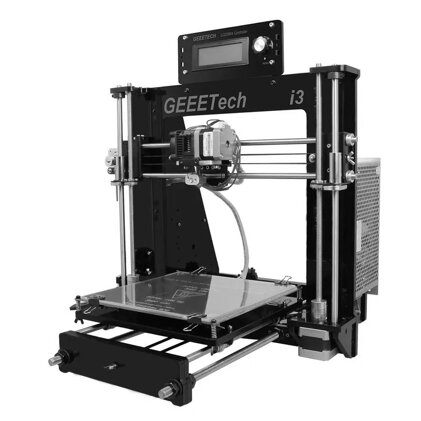
We provide 3D printing prototyping services for small-sized parts. We have a Geeetech Prusa I3 Pro B 3D printer (FDM/FFF technology) for printing ABS and PLA materials, with a work area of 200x200x180mm, and a LONGER Orange 10 3D printer (FDM/LCD technology) for printing Anycubic resin, with a work area of 98x55x140mm.
